How to Replace Nissan Rogue Tail Brake Light and Turning Signal Light bulbs

Published: 04/17/2023 0002.1
*Click the link to view the video version: https://youtu.be/xoHRc9y3qy0
*All product links are located at the end of the article.
(This article contains affiliated links, meaning that I will get a small commission at no additional cost to you if you buy through my links)
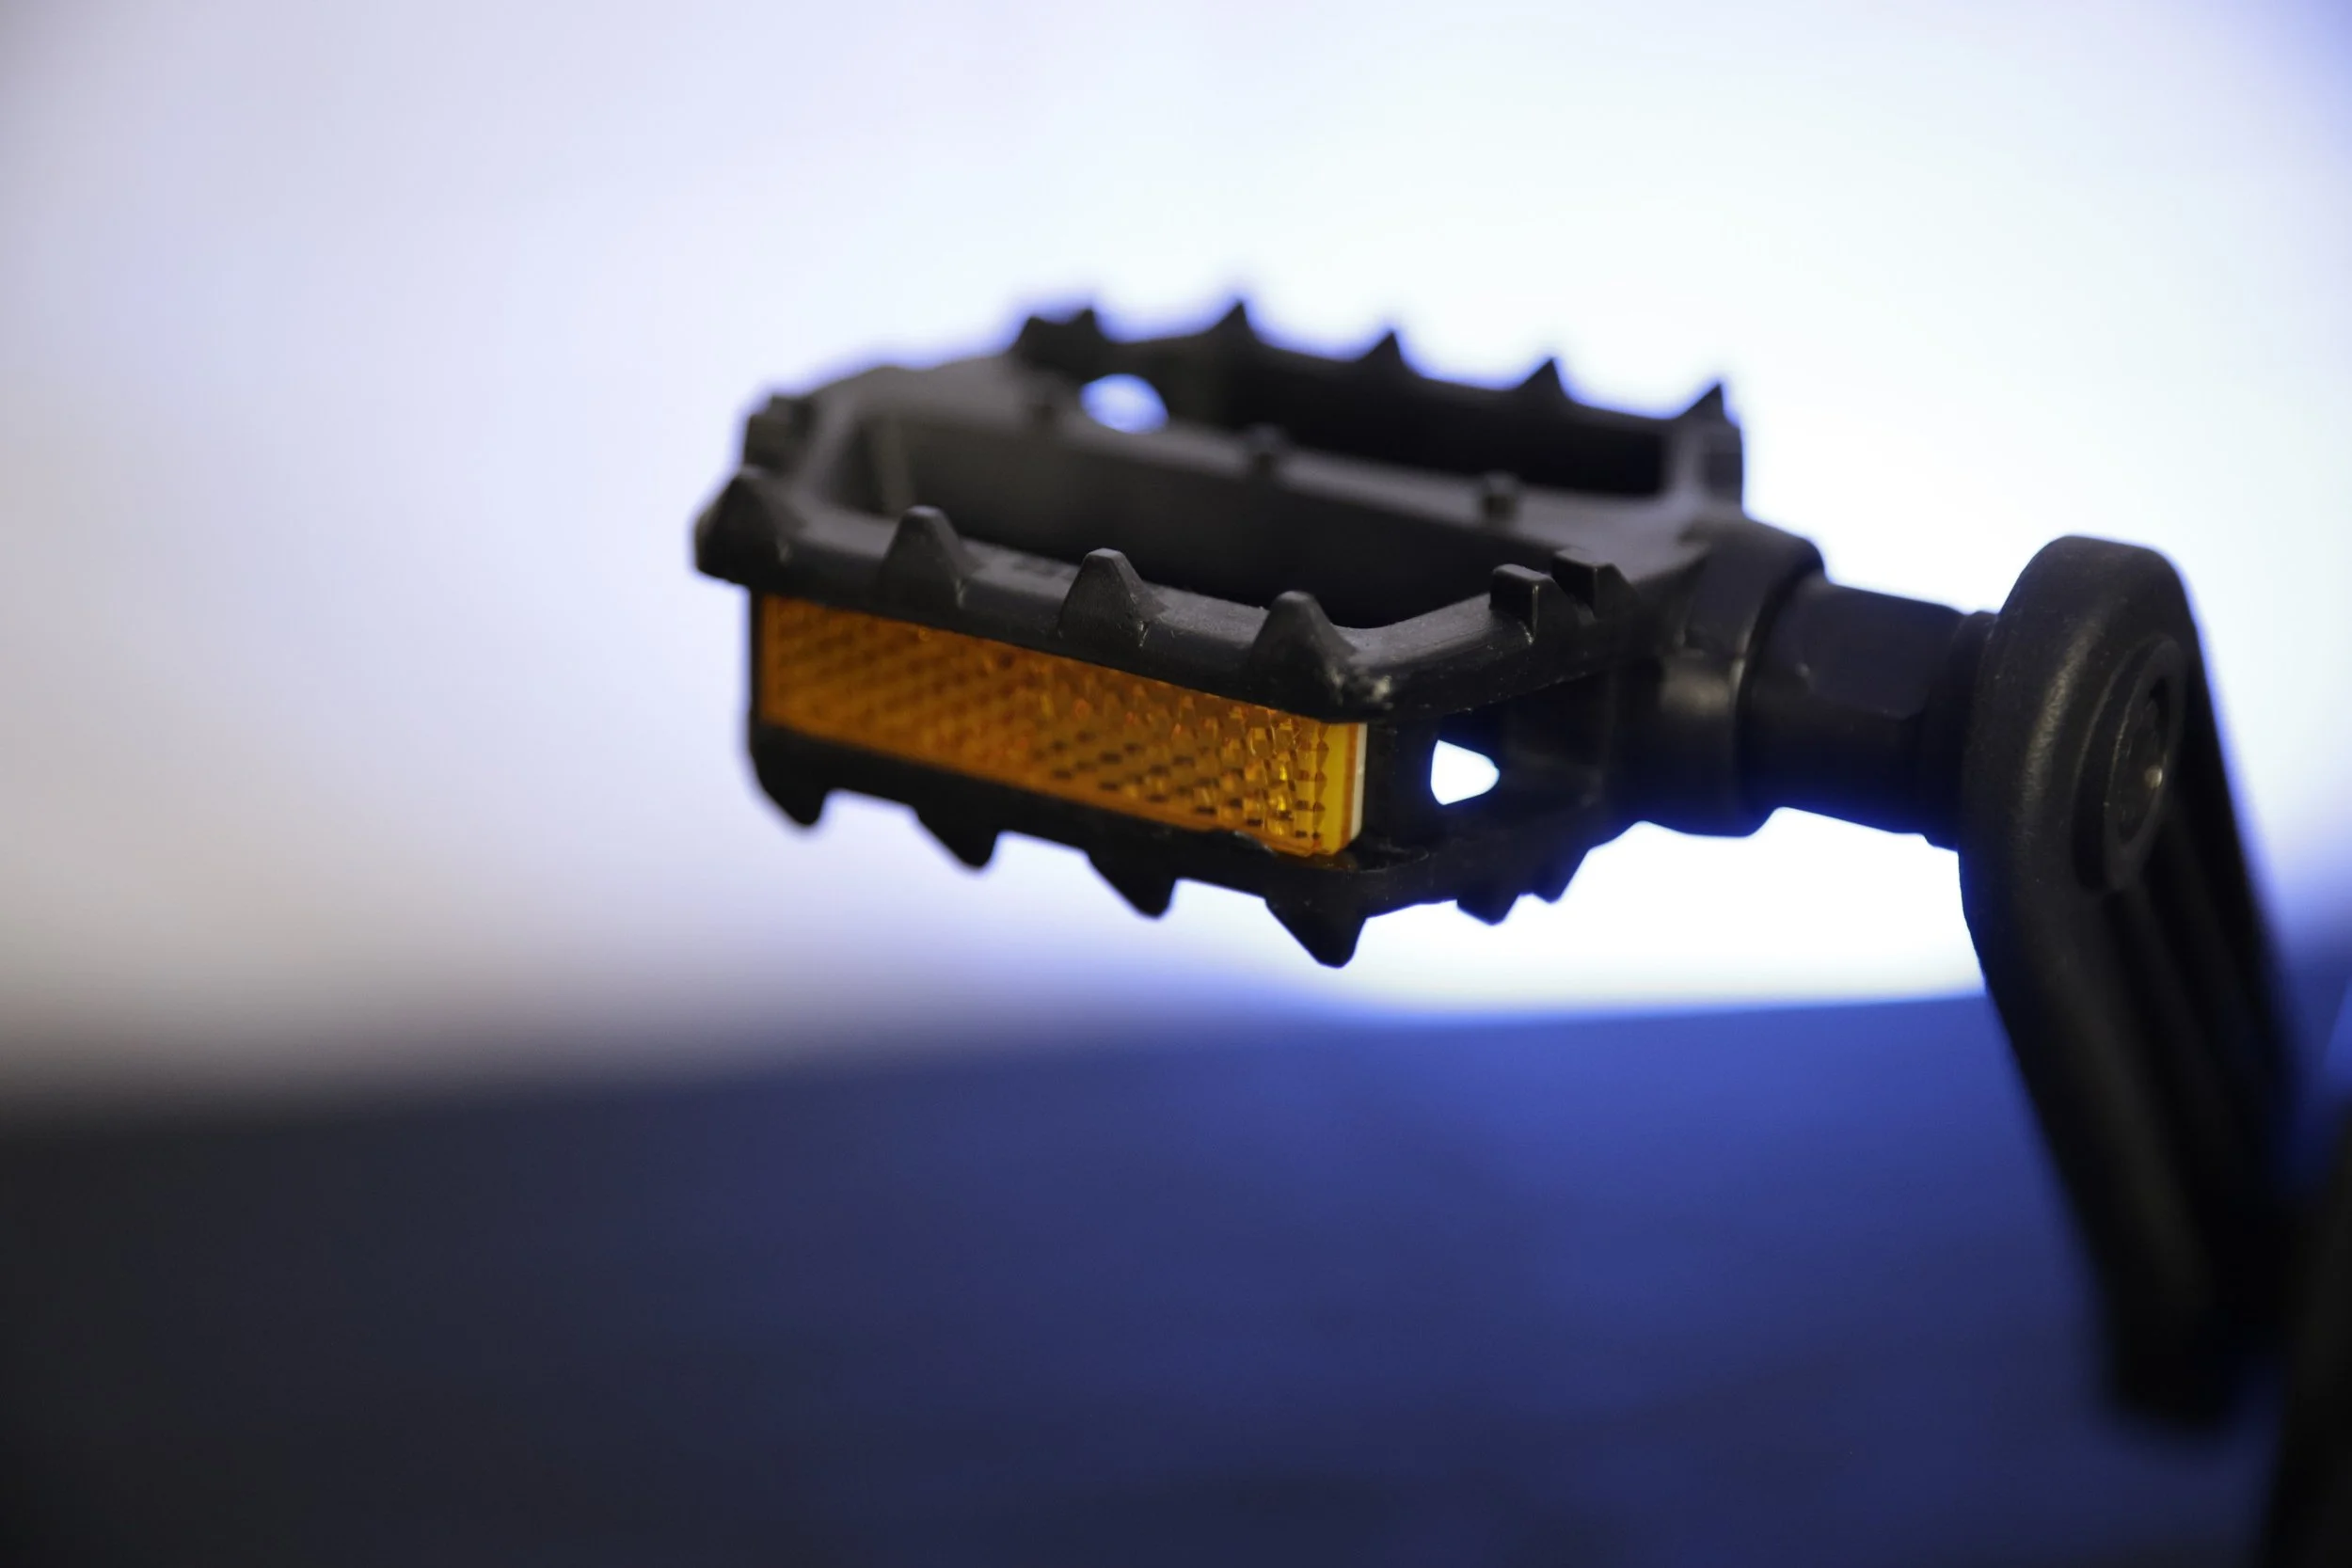
If you own a Nissan Rogue, you can easily change the tail brake light and the turning signal light yourself (photo 1). All you need is a few simple tools. In this article, I am going to give you step-by-step instructions on how to change the tail brake light bulb. However, if you are looking to change your turning signal light bulb, you can just follow the same instructions, the only difference is that when unscrewing the light bulb, you are unscrewing the turning signal light bulb instead of the brake light bulb, I will explain more in the article later.
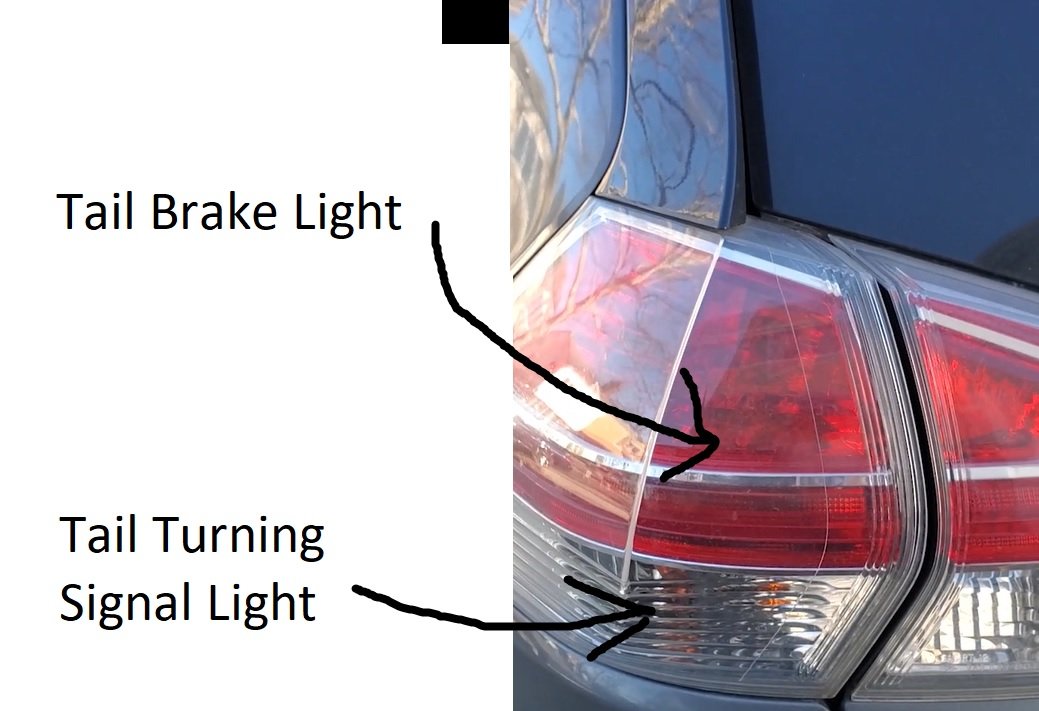
photo 1
It is a one person job, it takes about 15 minutes to do it, but you need to make sure you have all the tools within your hands reach, the car model that I have is Nissan Rogue 2015 SV all wheel drive, and it should work on similar models, if you want to double check, you can look into your car owner’s manual to make sure that it works, If you don’t know this already, whenever you need a replacement part for your car, you can always go online and check for the part number that you need for your particular car model, I will make a tutorial for it in the near future. The last point I want to bring out is do it at your own risk, just like any other tutorials, after reading the article, if you are comfortable with it, go ahead, give it a try, however, if you are unsure about it, you afraid that you may scratch your car, then don’t do it. The first tool that you need is the 10 mm socket (photo 2) and also, you need something to turn the 10 mm socket. I happen to have this screwdriver (photo 3) in my toolbox which I can attach to my 10 mm socket and do the job.
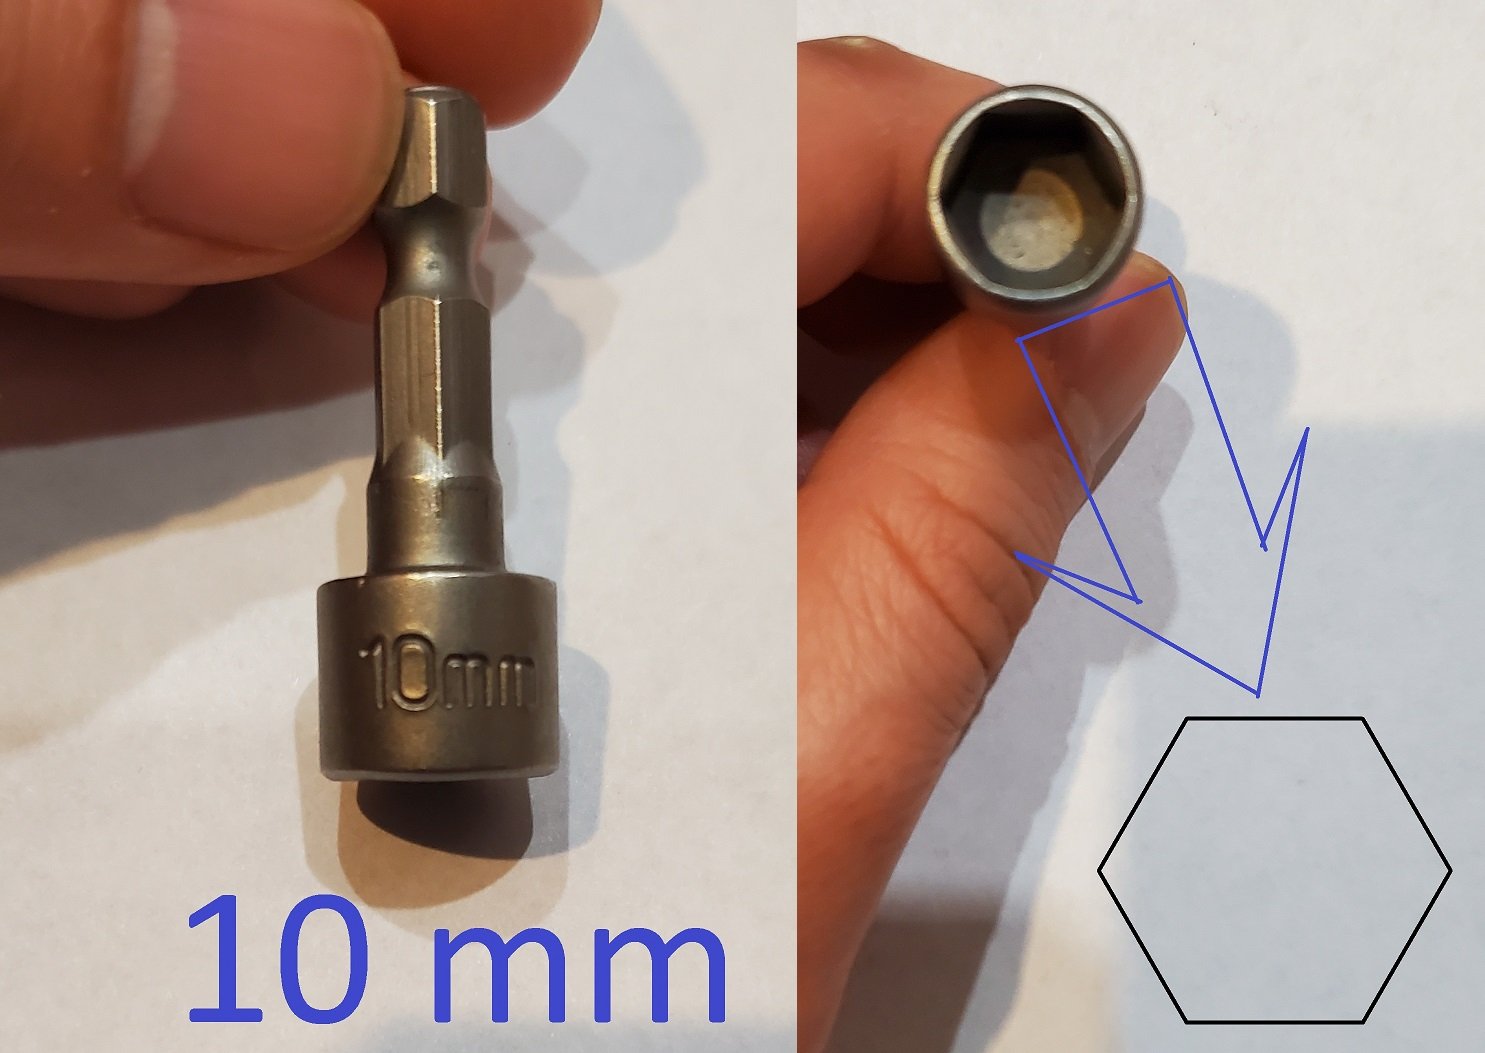
photo 2
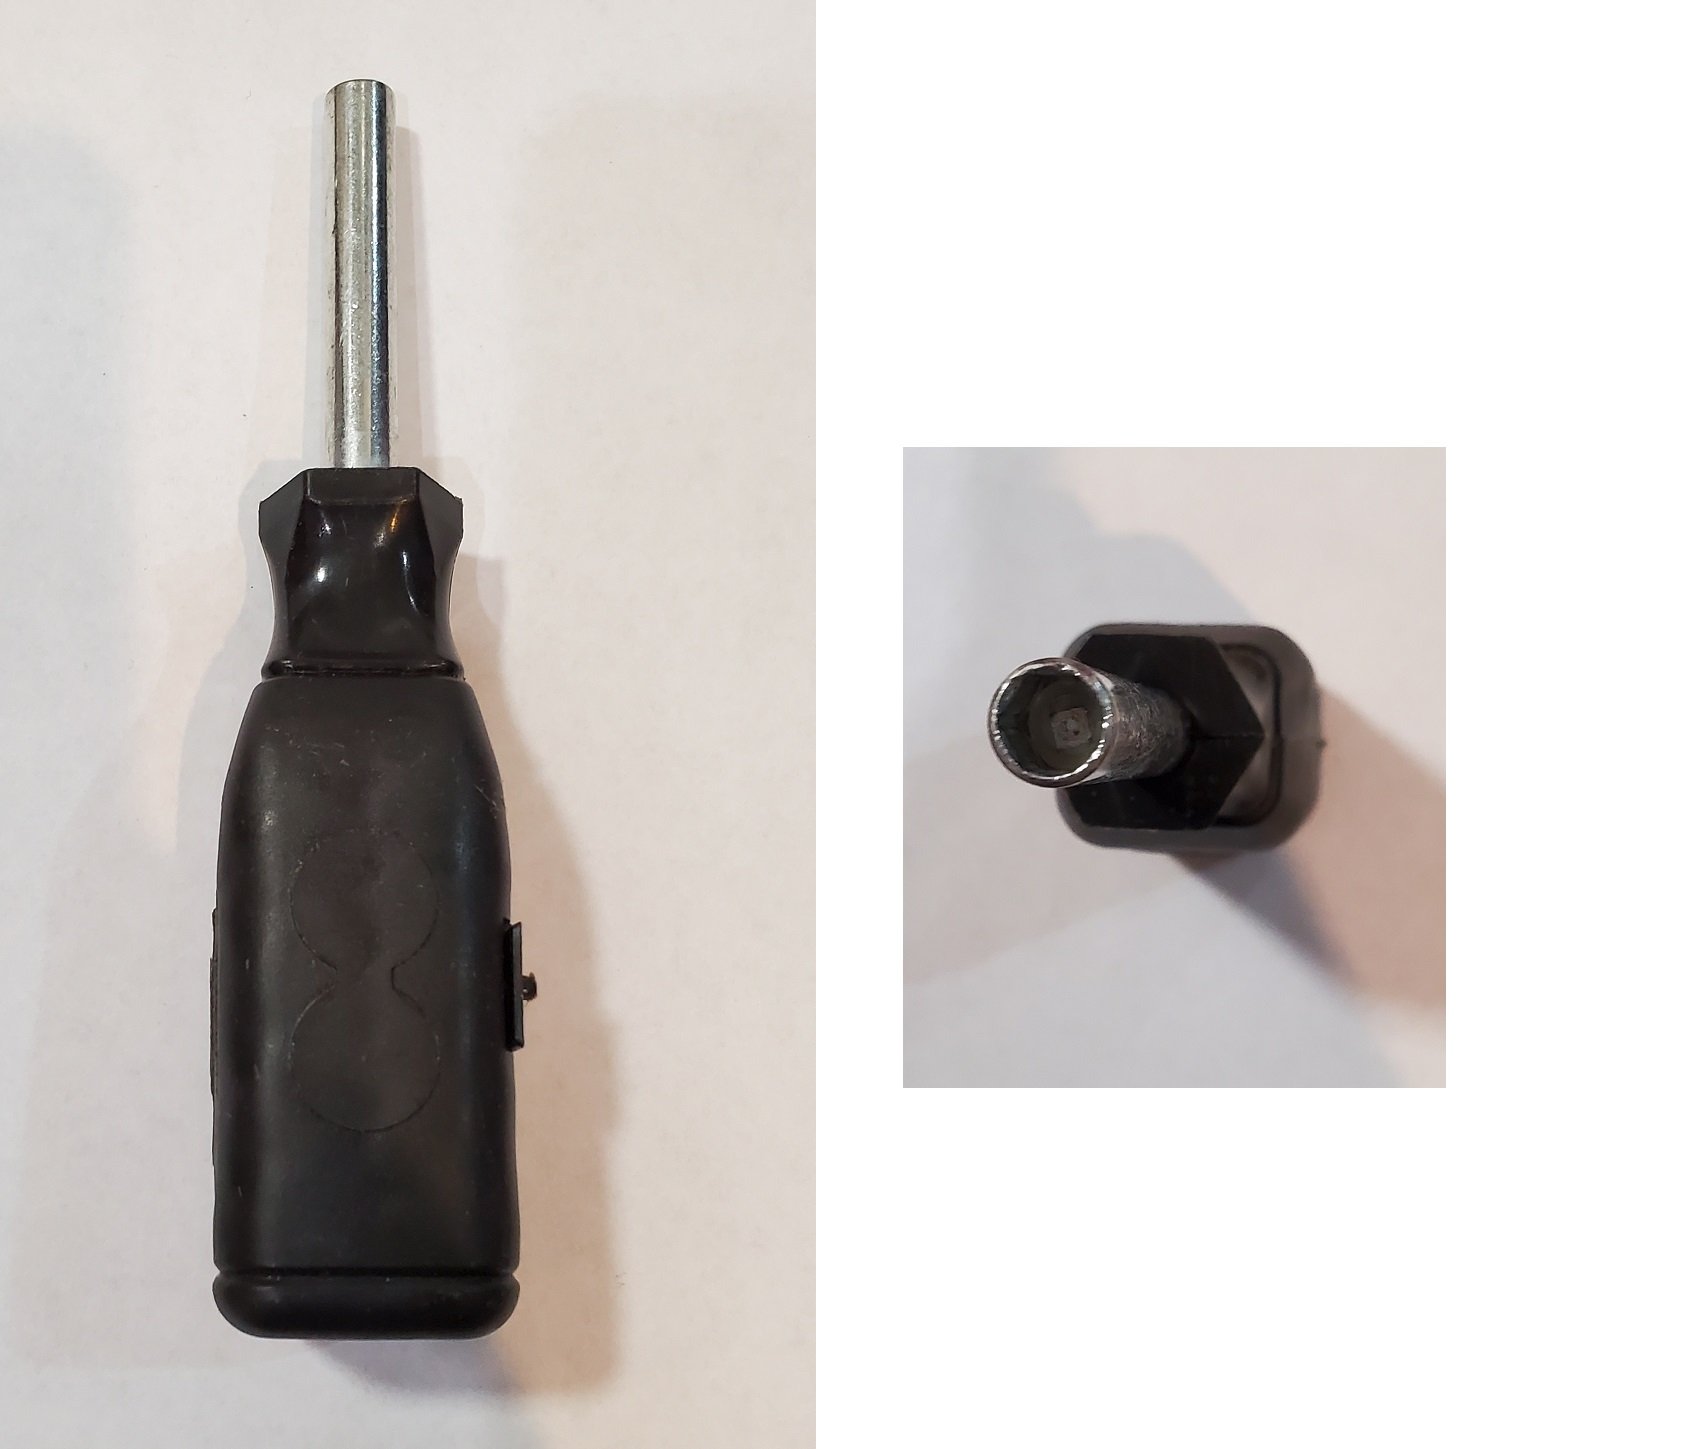
photo 3
However, if you do not already own the 10 mm socket and you do not feel like buying an entire new drill set just for this 10 mm socket, there is another option for you. There is something you can buy, it’s call a “10 mm socket wrench screwdriver”. Basically, it’s a screwdriver merged with a 10 mm socket. I will post all the product links below. Look at the end of the article and find out the light bulb that you will need if you want to change your tail brake light and the turning signal light. You will also need a flat head screwdriver with duct tape covering the tip (photo 4).

photo 4
By using your 10 mm socket, you will need to unscrew these four screws over here (photo 5). While you could use a power tool to do it, but you don’t have to, it’s pretty easy. However, I do not recommend using a power tool to put the screw back in, you can easily damage the screws if you apply too much power to it. The next step is taking out the top part (photo 6), you can get a really good grasp from holding here and pulling toward you, and the other hand you hold the middle and pulling toward you (photo 7).
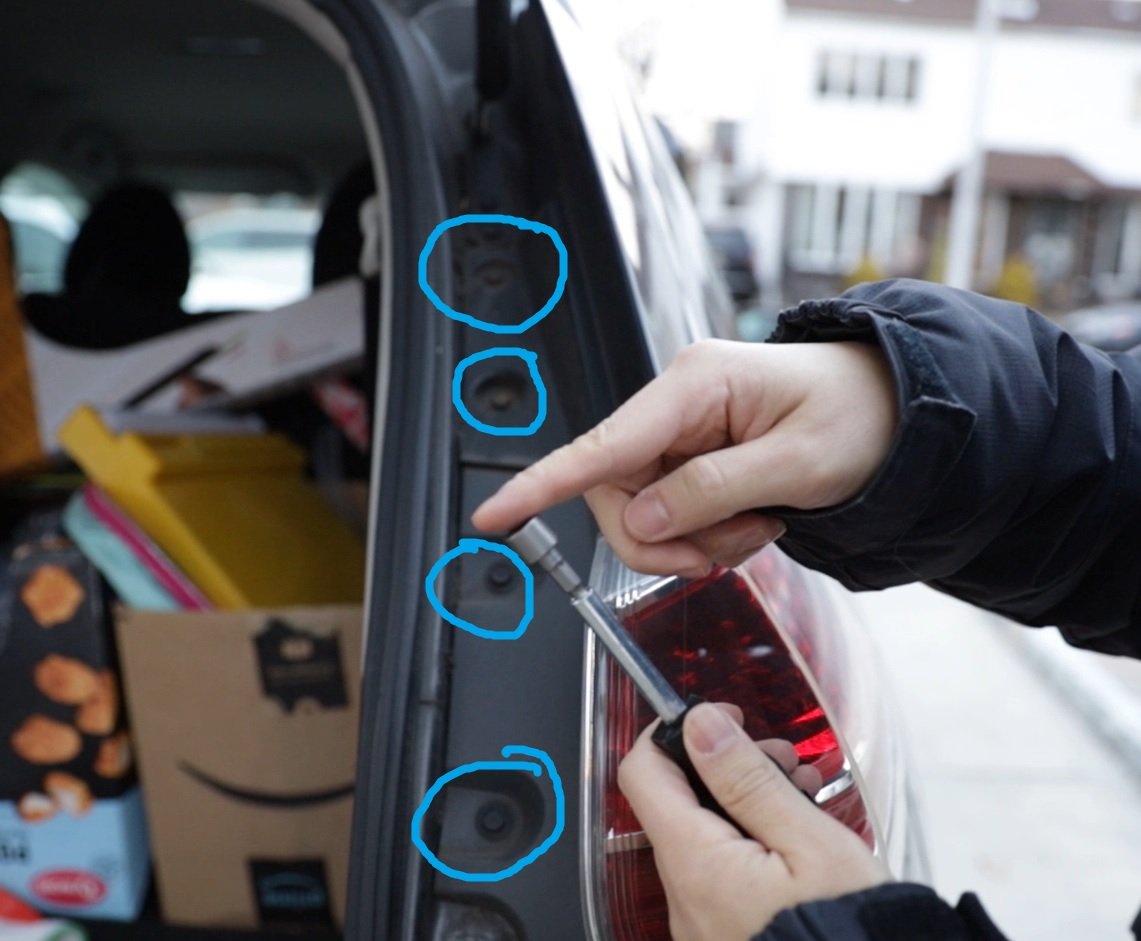
photo 5
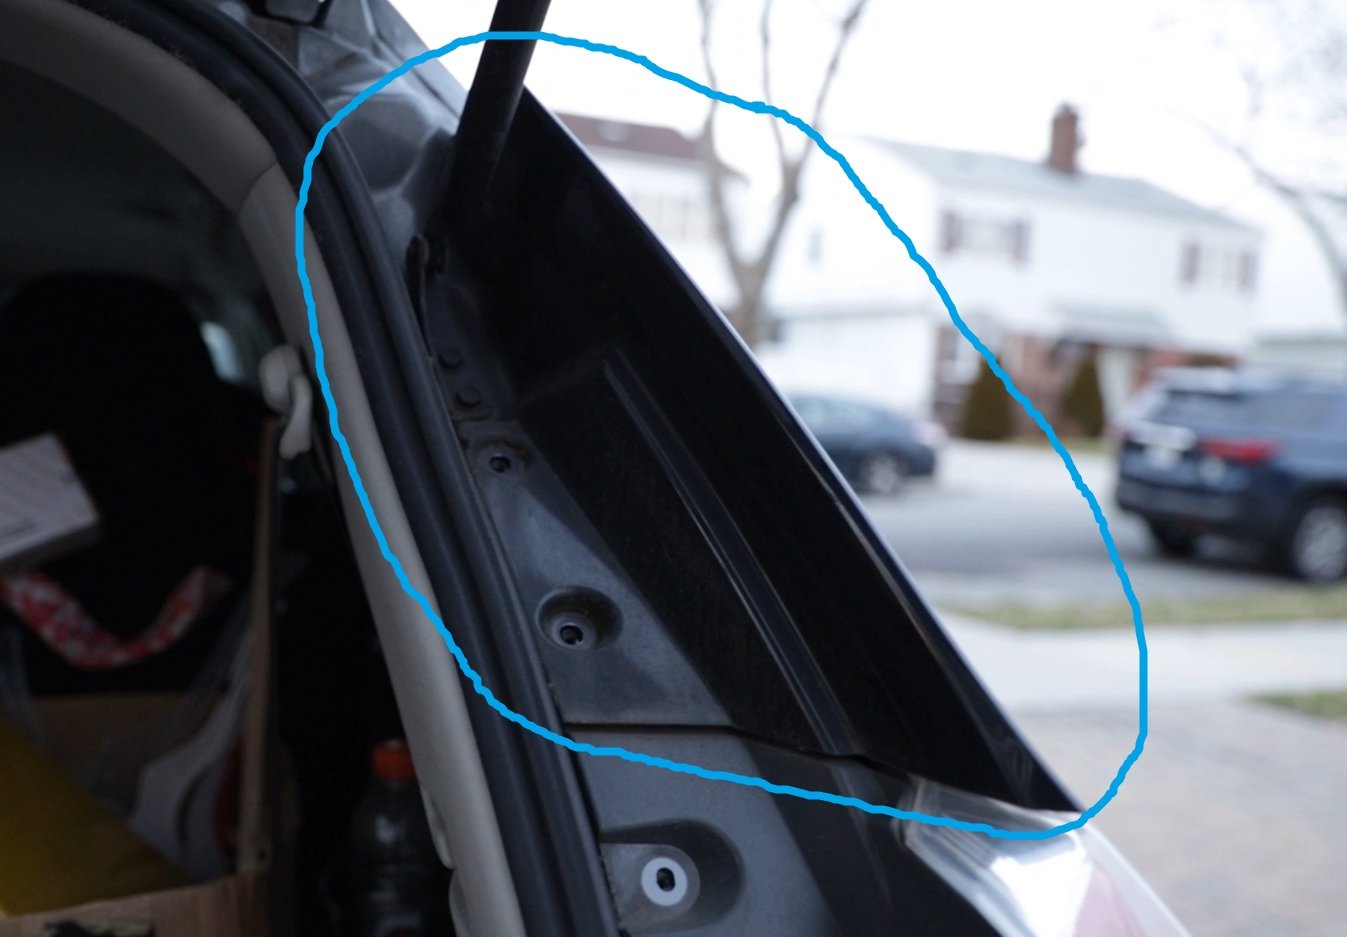
photo 6
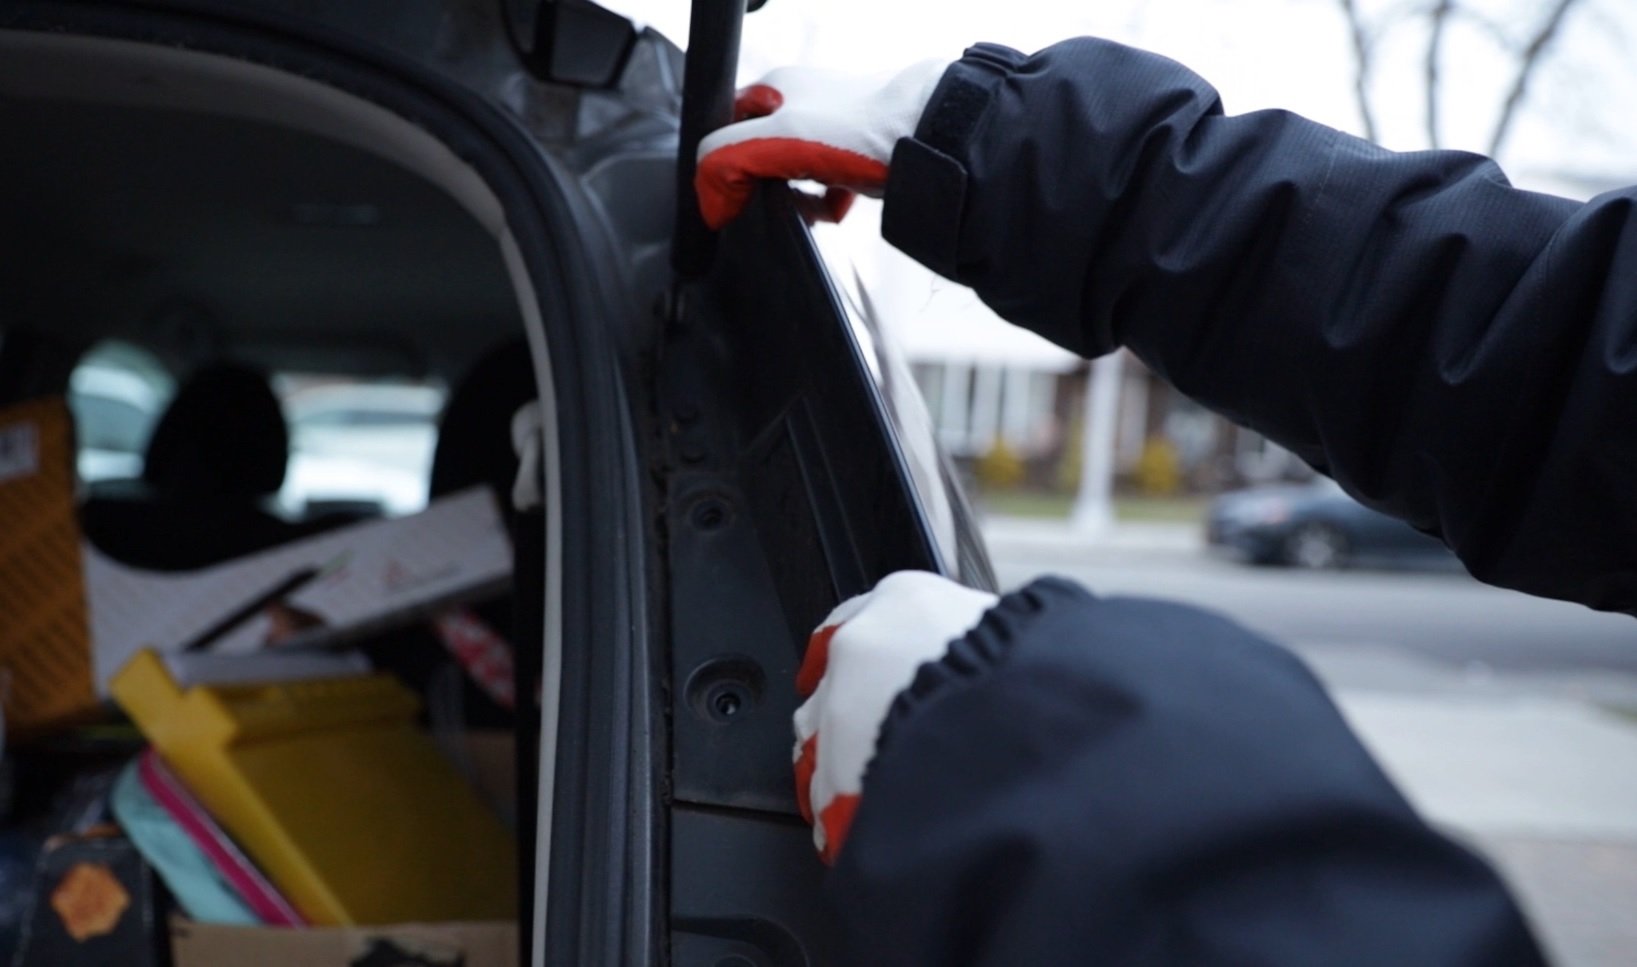
photo 7
The next step is to take this part out (photo 8), you will need to use your flat head screwdriver and create a little gap over here (photo 9), it’s a pretty small gap, it’s just like 3 mm to 5 mm is enough. I have prepared a piece of duct tape so I can keep the gap open, just like this (photo 10).
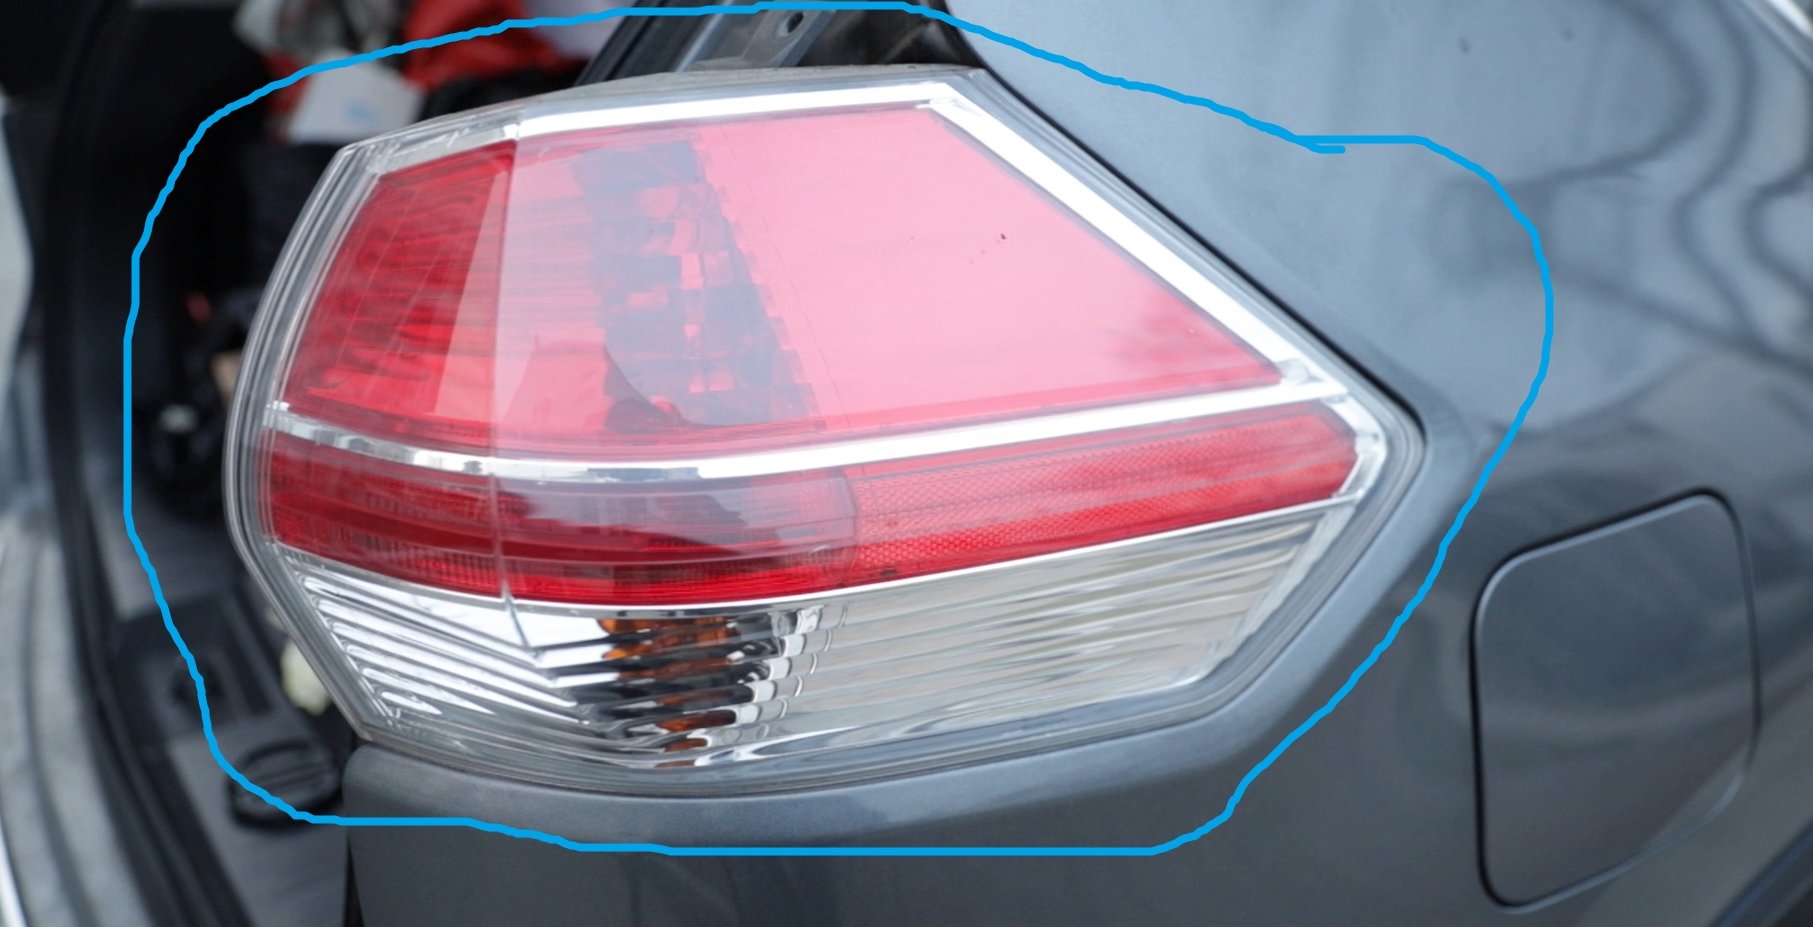
photo 8
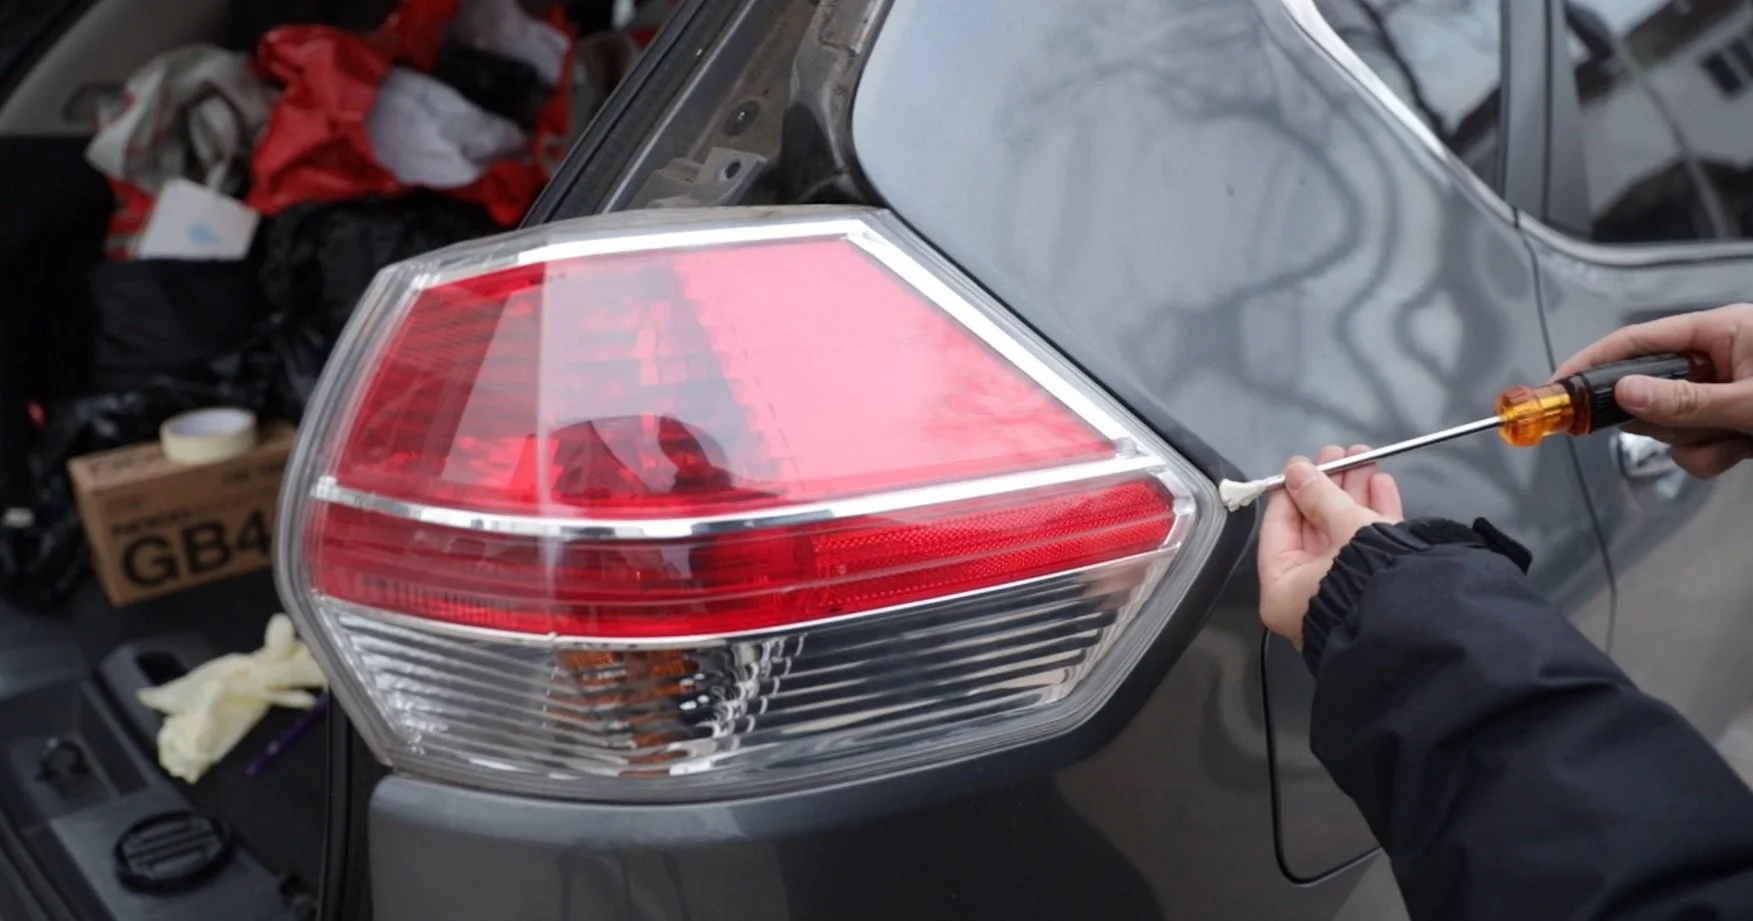
photo 9
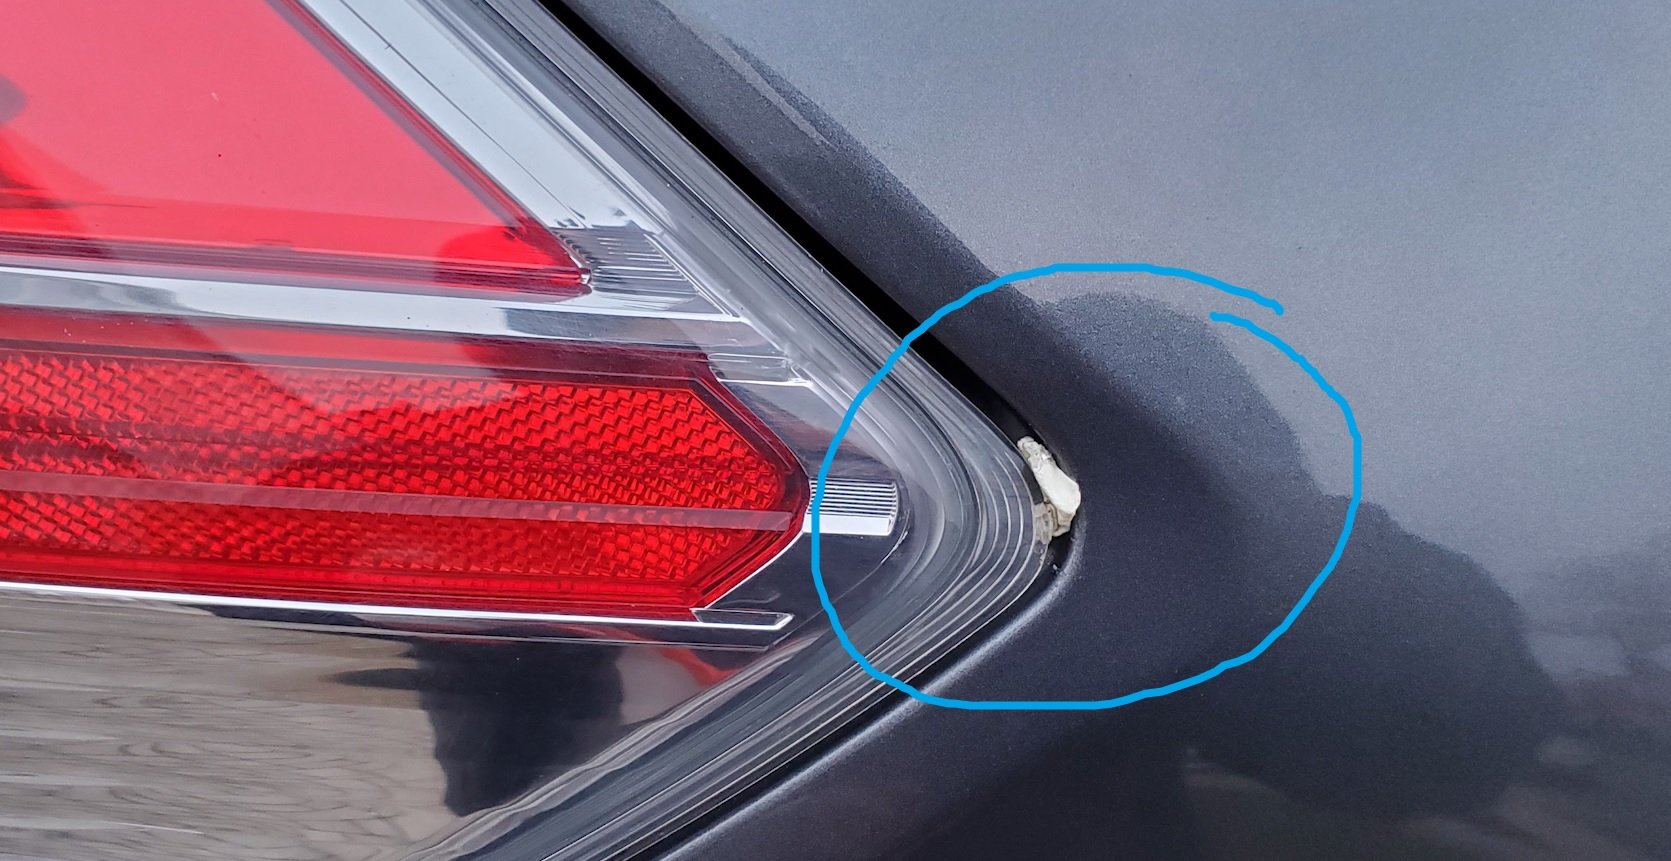
photo 10
Now it’s time to take this part out, you can get a good grasp from holding here and here, pulling toward you (photo 11). while you are doing it, make sure that you don’t pull out too much, because there’s wires connecting this part to the car body itself, you see the wires? These wires are not very long (photo 12).
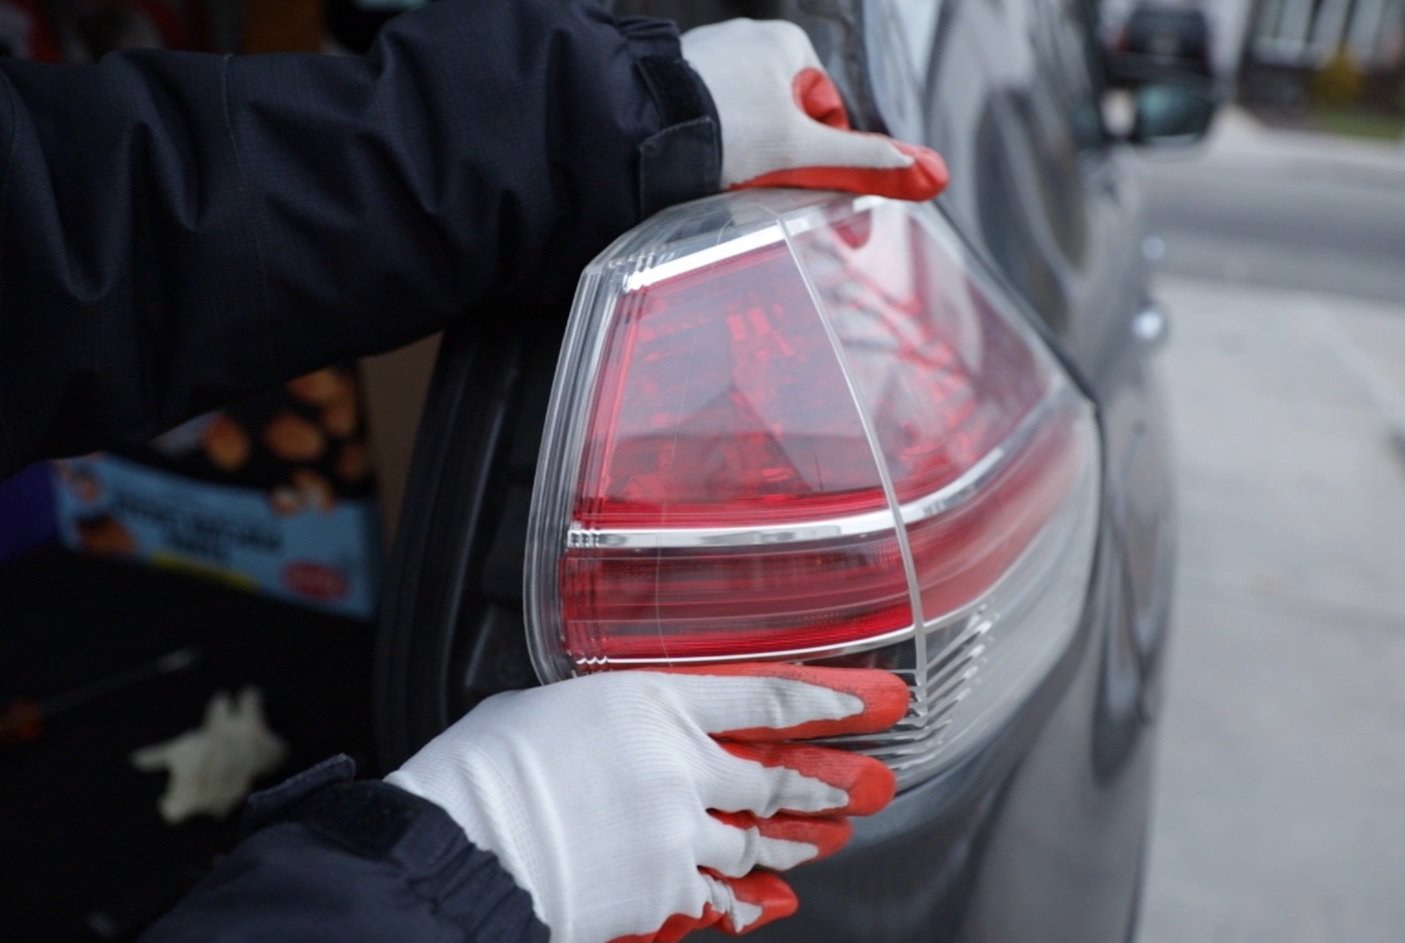
photo 11
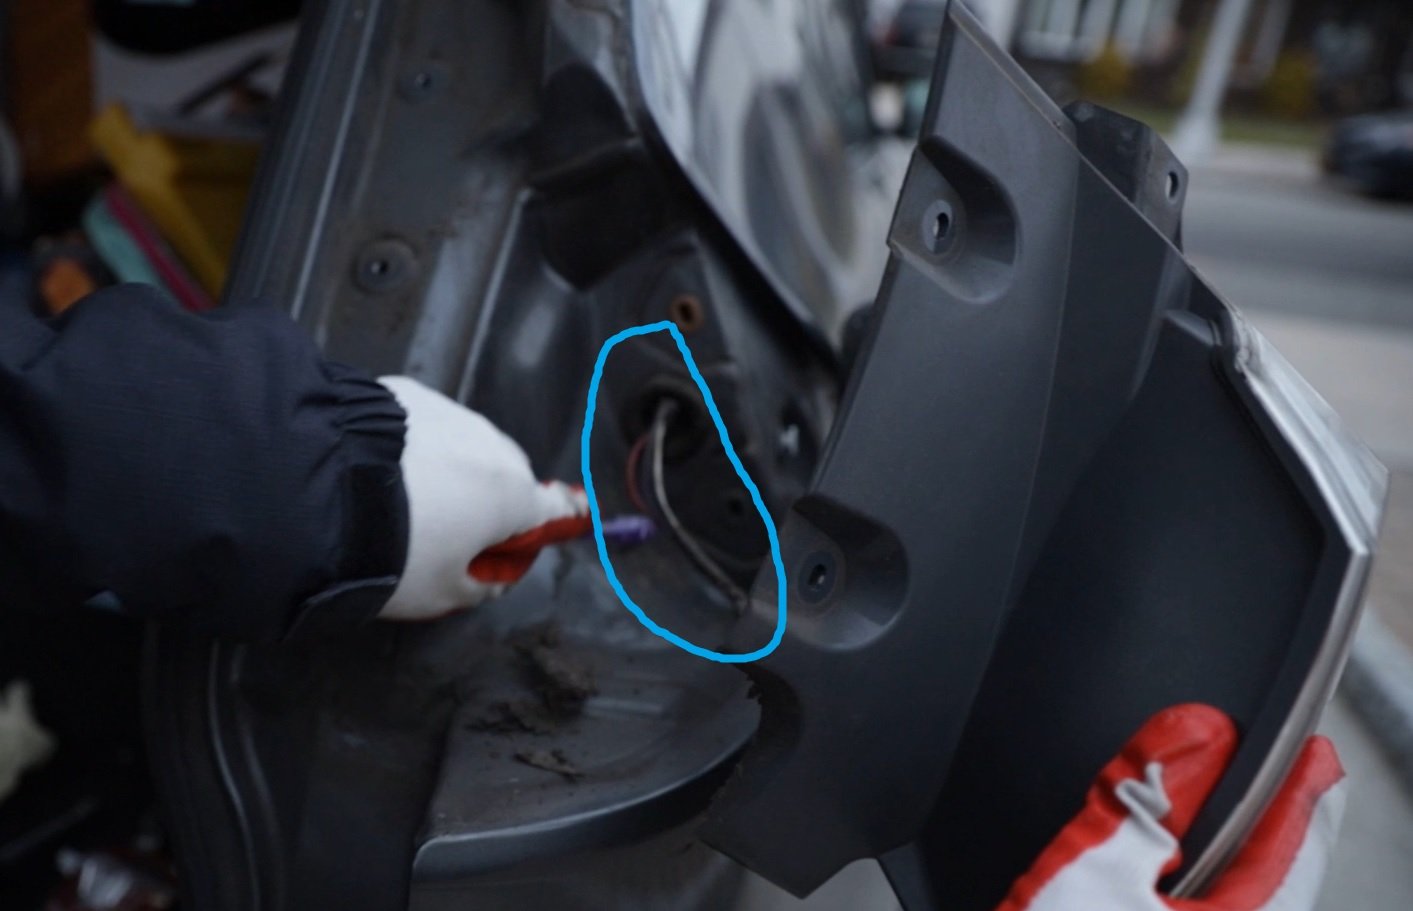
photo 12
This is where the tail brake light slot (photo 13) and turning signal light (photo 14)are located . . To get the light bulb out, you are going to turn counterclockwise for about a quarter of a circle, you should feel a “click”. Now you just need to pull the old light bulb straight out and then to push in your new light bulb in (photo 15). You should feel a “click”.

photo 13

photo 14
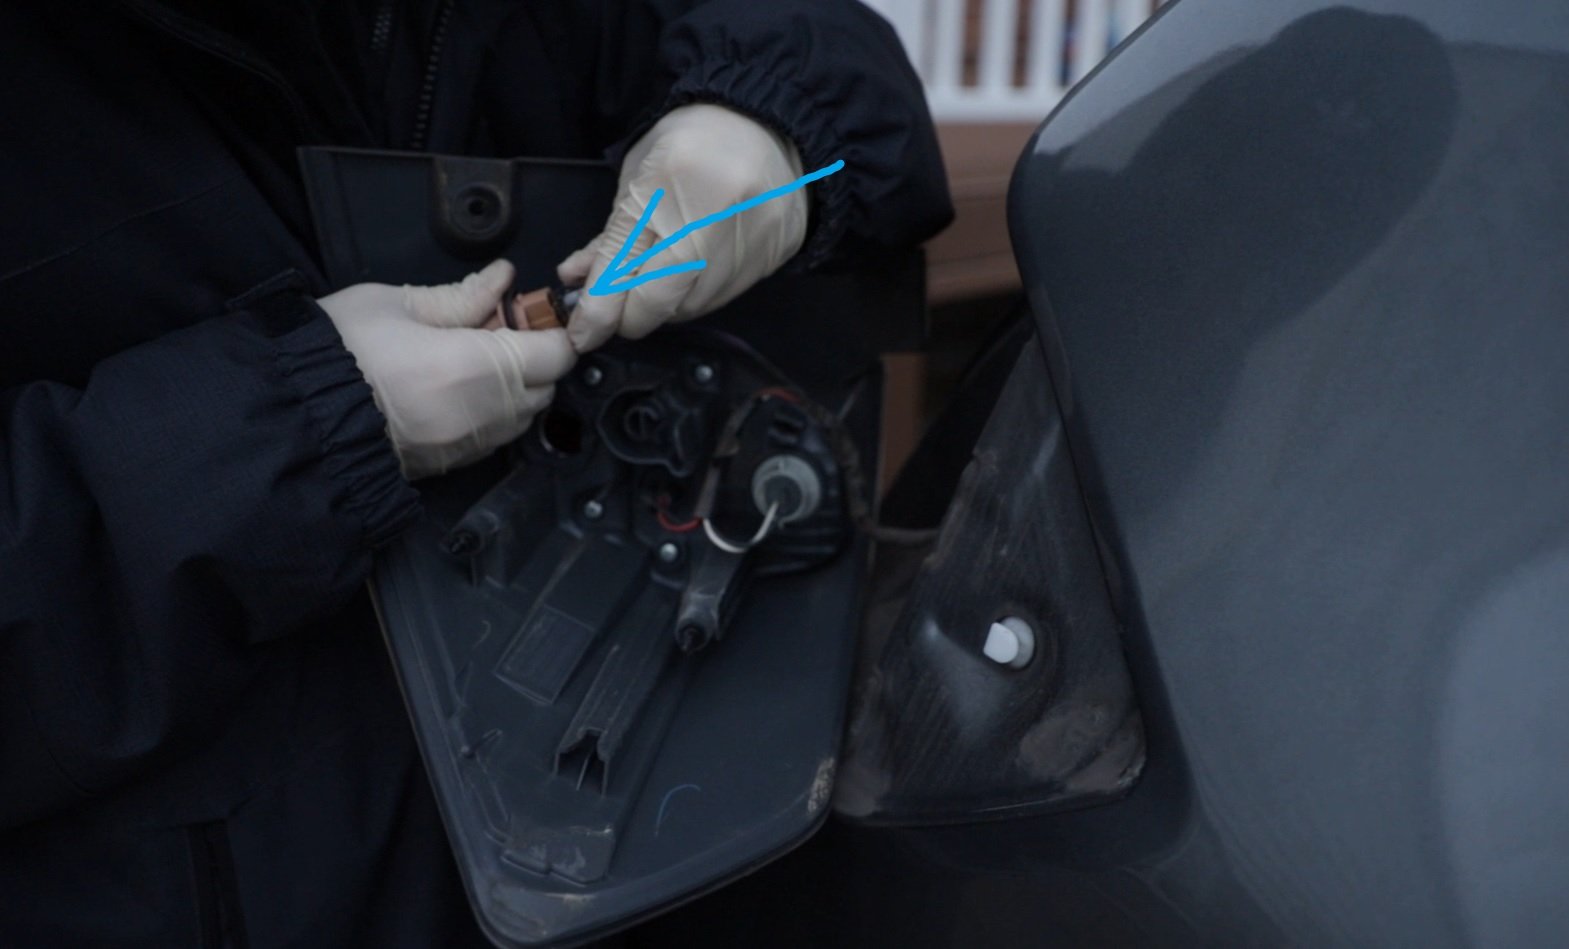
photo 15
To put it back in, make sure that you have to match the design of the slot (photo 16). You are going to insert it and then turn it clockwise for about quarter of a circle, you should feel a “click” when it is locked. The next step is to put it back in, you have to match the 3 connection points, I have color coded them so it is easier for you to see, there’s only 3 points that you have to make sure that you match (photo 17).

photo 116

photo 17
The next step is to install the top part back in, make sure that you match the 3 connection points (photo 18). I noticed that it is easier to install when you push in the top connection part in first, and then put the rest of the connection points in.
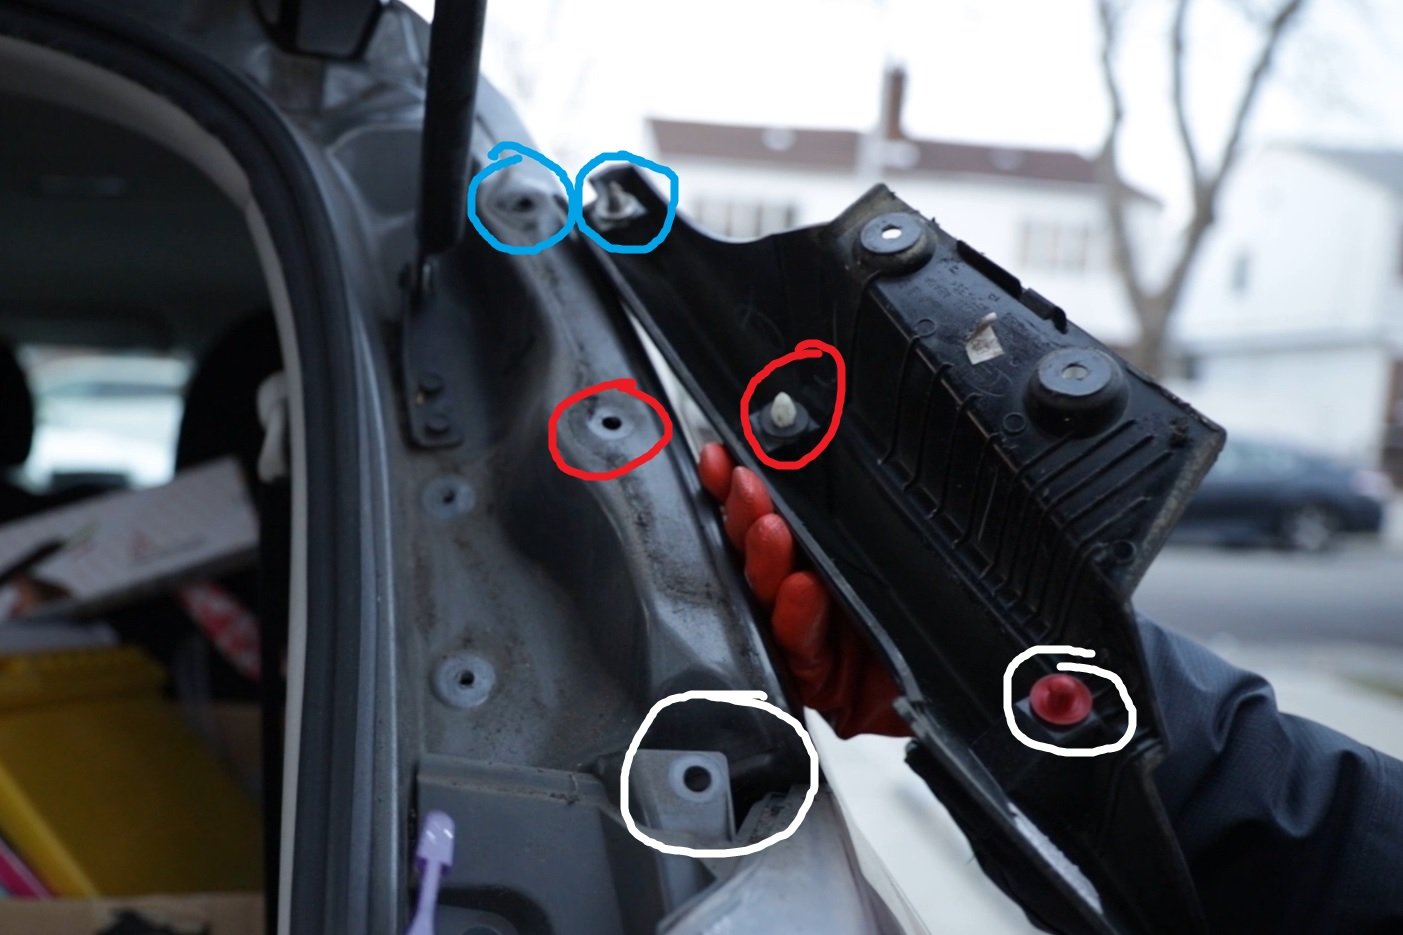
photo 18
The last step is putting the 4 screws back in, and you are all set (photo 19)! Once everything is done, make sure you test it. I have posted the product links below. These are affiliated links, meaning that I will get a small commission at no additional cost to you if you buy through my links, that’s the end of my article, thank you for reading. I wish you have a great day!
photo 19
Amazon Associate Affiliated Links:
(I will get a small commission at no additional cost to you if you buy through my links.)
(1) 10 mm socket wrench screwdriver
(2) Nissan tail brake light bulb
(3) Nissan tail turning signal light bulb
Other articles you maybe interested in:
>”Nissan Rogue - how to change key fob battery”
>”Nissan Rogue - how to keep windshield wiper blade up”
>“AUTOBOO Windshield Wiper Blades Review and installation: Fits Nissan Rogue Perfectly”